To set up motion lights off-grid for survival and prepping, select solar-powered lights that emit at least 20 lumens and have a 120-degree detection angle to ensure effective monitoring. Install these lights in unobstructed areas that receive 6-8 hours of sunlight daily, ideally positioning them 6-10 feet high to maximize visibility and deterrence. Securely mount the fixtures and angle the solar panels between 30 to 45 degrees to optimize sun exposure. Utilize weatherproof wiring and connectors to safeguard your installation against harsh environmental conditions. Before relying on the system, thoroughly test the motion sensor’s functionality to ensure it operates reliably when needed most. Remember to consider additional factors for optimal performance and preparedness in any situation.
Key Takeaways
- Select solar-powered motion sensor lights that provide at least 20 lumens and have an IP65 rating to withstand outdoor conditions, ensuring they are suitable for survival scenarios.
- Position the solar panel in an area that receives 6-8 hours of direct sunlight each day to guarantee reliable energy charging, which is essential for maintaining off-grid systems.
- Mount the lights at a height of 6-10 feet to maximize motion detection and sensitivity, allowing for better security in a survival setting.
- Utilize weatherproof wiring and connectors to safeguard electrical connections from moisture and extreme weather, which is critical in prepping for various environmental challenges.
- Conduct regular testing and maintenance of the system to ensure it functions consistently and performs reliably when you need it most.
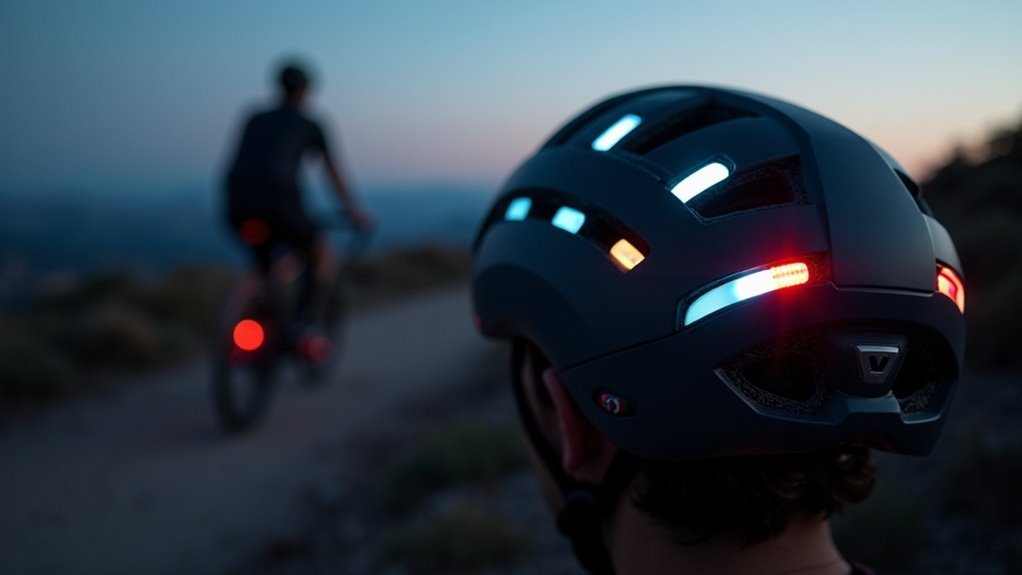
Choosing the Right Solar-Powered Motion Sensor Lights
When selecting solar-powered motion sensor lights for your survival and prepping needs, how can you ensure they meet your specific requirements?
Look for lights with a minimum of 20 lumens for effective illumination in outdoor survival scenarios. Ensure the solar panel provides at least a 5V output for reliable charging, even during overcast conditions, which is crucial for maintaining visibility during emergencies.
For outdoor survival, choose lights with 20 lumens and a 5V solar panel for dependable illumination and charging.
Check for a detection range of at least 20 feet with a 120-degree angle to ensure optimal security coverage around your perimeter. Models with adjustable sensitivity and timer settings allow you to tailor the responsiveness based on your unique situation.
Lastly, prioritize weather-resistant features, aiming for an IP65 rating or higher, to guarantee durability and consistent performance in various outdoor conditions, essential for long-term preparedness.
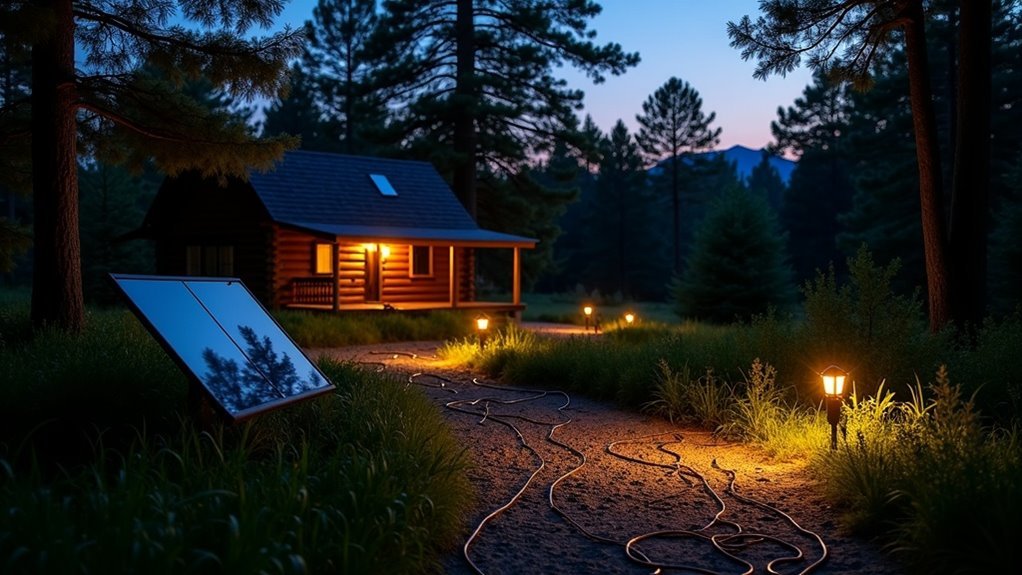
Selecting the Ideal Location for Installation
Selecting the ideal location for your solar-powered motion lights is crucial for maximizing their effectiveness and ensuring reliable security coverage, especially in a survivalist or prepping context.
First, choose a spot free of obstructions, allowing the motion sensor to detect movement within a 30-foot range, which is vital for monitoring your perimeter. Make sure the area receives 6-8 hours of direct sunlight daily to ensure optimal solar performance, crucial for maintaining functionality during emergencies.
Install the lights at a height of 6-10 feet to enhance sensitivity and deter tampering by potential intruders. Position them to face pathways or entrances where motion detection is essential for your safety.
Finally, avoid heat sources like air conditioning units that could trigger false alarms, ensuring you have clear visibility when surveillance is critical for your preparedness.
Mounting the Light Fixture Securely
To mount your motion light fixture securely in a survivalist setting, begin by choosing a robust and level mounting surface that can withstand the rigors of outdoor conditions.
Ensure that the mounting plate is aligned correctly with the wall holes and verify that it’s level before tightening the screws. This meticulous alignment is crucial not only for the fixture’s functionality but also for maintaining a low-profile appearance in a preparedness scenario where discretion may be vital.
Proper installation can enhance your security and safety in any survival situation.
Choosing Appropriate Mounting Location
How can you ensure your motion lights are effective for your survival and prepping needs? Choosing the right mounting location is crucial. Follow these guidelines to guarantee optimal performance:
- Mount the fixture 8 to 10 feet high for an unobstructed view, ensuring it can detect movement around your perimeter.
- Secure it to a stable surface with appropriate anchors or screws to withstand harsh weather conditions.
- Position the fixture away from trees and bushes to avoid false triggers, which could compromise your security.
- Avoid direct sunlight to enhance sensor accuracy, ensuring the lights activate as intended during critical times.
Always consult the manufacturer’s guidelines for the best height and angle for your specific model, maximizing the detection range and providing comprehensive coverage of your property, which is essential for safety and preparedness.
Ensuring Proper Level Alignment
While installing your motion light fixture in a survival or prepping scenario, ensuring proper level alignment is crucial for optimal functionality, especially in low-light conditions.
Begin by aligning the mounting plate with the wall holes before securing it to prevent misalignment that could affect performance. Use a level to check the plate’s horizontal alignment; uneven installation can compromise both aesthetics and sensor efficacy, which is vital for security.
When repositioning screws, make small adjustments to maintain alignment without overtightening, as this can lead to damage or failure during critical times. After installation, gently tug the fixture to confirm it’s securely attached.
If your fixture offers multiple mounting options, choose the one that provides the best stability for the intended surface, enhancing durability in unpredictable environments. Proper installation can ensure reliable lighting when you need it most.
Connecting the Solar Panel to the Light
To connect the solar panel to your motion light in a survival or prepping scenario, begin by positioning the panel to maximize sunlight exposure, ideally at a 30 to 45-degree angle. This will ensure optimal energy capture for your off-grid lighting system.
Next, securely connect the positive and negative terminals of the solar panel to the corresponding inputs on the motion light using reliable wire connectors. This is crucial for maintaining the integrity of your setup in an emergency situation.
Finally, if applicable, install a charge controller to efficiently manage battery charging and prevent potential issues, ensuring your motion light remains functional when you need it most.
Solar Panel Placement Tips
Proper placement of solar panels is crucial for maximizing the efficiency of your off-grid motion lights, especially in a survivalist or prepping context.
To ensure optimal energy absorption for your emergency lighting needs, consider the following tips:
- Position panels in direct sunlight for at least six hours daily to harness maximum solar energy.
- Mount the solar panel at a 30 to 45-degree angle for consistent year-round exposure, adapting to seasonal changes.
- Use weather-resistant wiring to connect the panel to the motion light, ensuring durability and reliability in harsh conditions.
- Check the voltage and amperage ratings of both the solar panel and motion light for compatibility, avoiding potential failures.
Regularly cleaning the panel’s surface is vital to maintain its efficiency, ensuring that your motion lights remain operational when you need them the most in a survival situation.
Wiring Connections Explained
Connecting the solar panel to your motion light is a crucial step in ensuring you have a reliable source of illumination for security during emergencies.
To begin, carefully align the solar panel’s positive (+) and negative (-) wires with the corresponding terminals on the motion light’s controller. Make sure to use weather-resistant connectors and secure all connections with wire nuts to prevent moisture intrusion, which is essential in survival situations.
Before finalizing your setup, verify that the solar panel’s output voltage matches the motion light’s input requirements, typically 12V or 24V, to avoid any potential damage to your equipment.
Position the solar panel for optimal sun exposure, ideally ensuring it receives at least six hours of direct sunlight daily—this is vital for maintaining power in a prepping scenario.
Once everything is connected and positioned correctly, test the system by covering the solar panel to simulate darkness and confirm that the motion light activates. This will ensure that your setup is functional and ready for use when you need it most.
Ensuring Weatherproof Wiring
When setting up motion lights off-grid for survival situations, ensuring weatherproof wiring is crucial for dependable performance and durability.
Follow these essential steps to safeguard your installation:
- Utilize weatherproof junction boxes to protect electrical connections from moisture, ensuring reliability in harsh conditions.
- Select wiring that’s rated for outdoor use, equipped with UV and water-resistant insulation to withstand the elements.
- Seal all wire entry points in junction boxes and fixtures with silicone sealant to prevent water intrusion and corrosion.
- Use waterproof wire connectors, such as heat-shrink connectors, for secure and long-lasting connections.
Regularly inspect and maintain your wiring and connections, especially after severe weather events, to ensure that your setup remains functional and ready for any survival scenario.
Testing Motion Sensor Functionality
Testing the functionality of your motion sensor is crucial for ensuring reliable operation, especially in off-grid survival scenarios.
Begin by walking in front of the sensor at various distances and speeds; this will help confirm that it consistently triggers the light when you need it most.
Test the sensor by walking at different distances and speeds to ensure reliable light activation when needed.
Utilize a multimeter to measure the voltage output, verifying it meets the manufacturer’s specifications to ensure it operates effectively when you rely on it.
Make sure the sensor is mounted at a height between 6 to 8 feet for optimal detection of potential intruders or wildlife.
Adjust sensitivity settings to reduce false triggers caused by small animals or environmental factors like wind, which can be vital in a survival situation.
Finally, test the sensor during different times of day and various weather conditions to ensure its reliability and performance in diverse survival scenarios.